EBIworld.com EBI/Clarify Tips How-to Install Windows EBI 2.6
How-to Install Windows EBI 2.6
TAGS: EXTOL install /
Installing EXTOL Business Integrator 2.6 should be easy for end users. The install should take no more than 5-10 minutes. Below are the instructions from start to end.
STEP 1:
Double click on EBI_2_6_Win64_b3550 Application file to install the EBI 2.6 Program

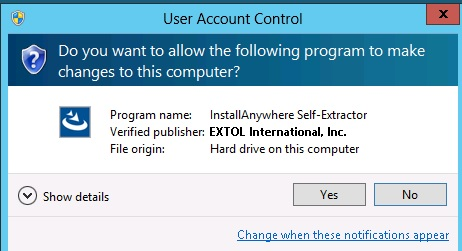
STEP 2:
Click “Yes” to allow the EBI program to install on the Hard drive.
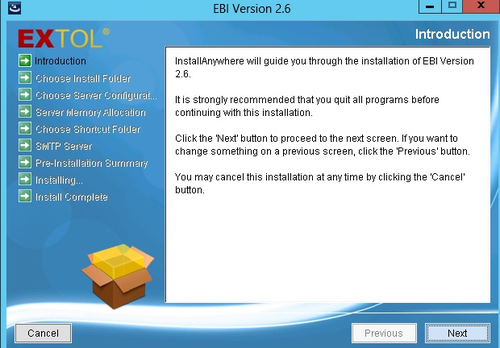
STEP 3:
After reading the Introduction screen click “Next”.
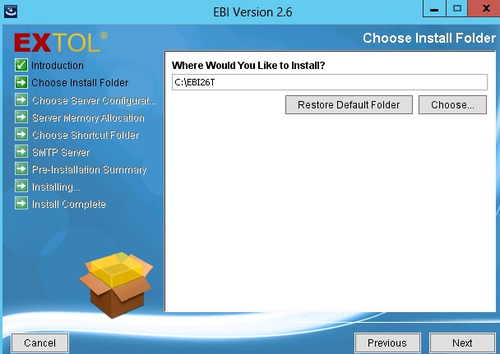
STEP 4:
Identify a directory to where we want the EBI 2.6 Program installed.
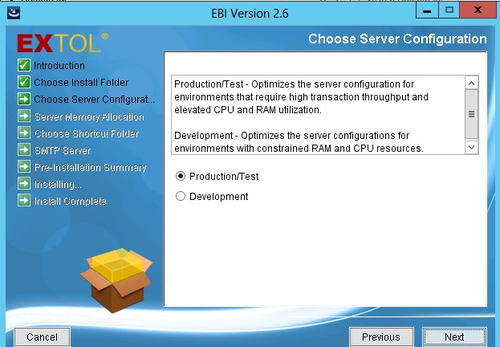
STEP 5:
Choose the Server Configuration. This is also known as Production/Test
STEP 6:
Enter the Server Memory Allocation. The suggested Value is “4800m”. This would be 4.8 gb.

STEP 7:
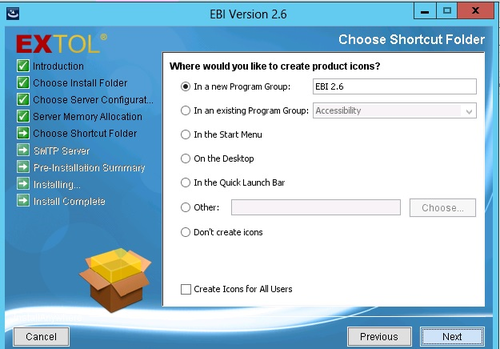
Choose a shortcut folder for the EXTOL Business Integrator icons
STEP 8:
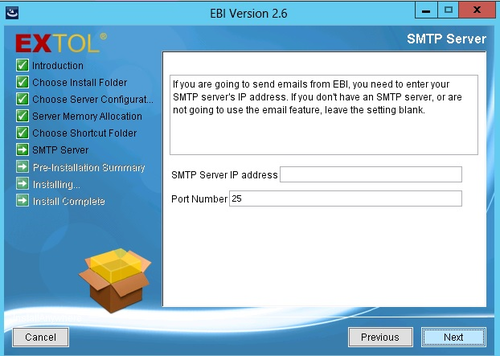
Enter the SMTP Server Settings. For this install, the default values are being used and seen in the screenshot below.
STEP 9:
9. Review the Pre-Installation Summary, if everything looks correct, click the “Install” button.. This would be 4.8 gb.

STEP 10:
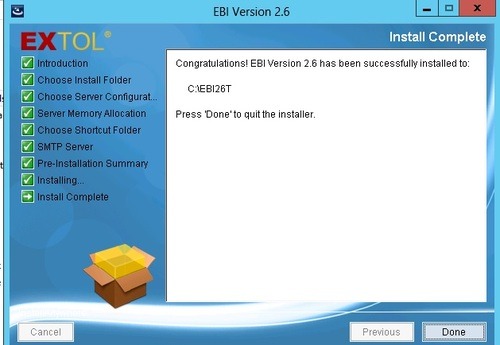
When the install is complete, click “Done”
STEP 11:
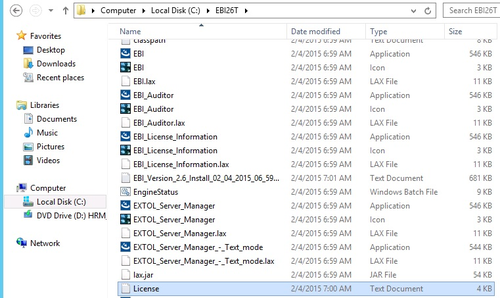
Once the install is complete, contact EXTOL support to obtain a production EBI 2.6 License. Once the license is obtained, the license.txt file will be placed into the folder to which EXTOL EBI 2.6 was installed.
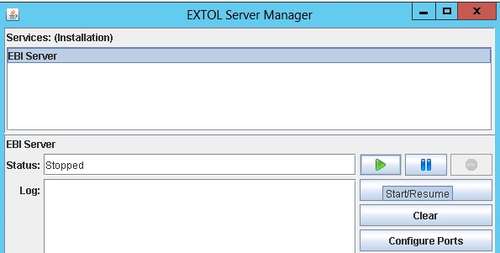
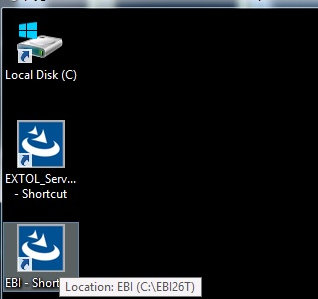
STEP 12:
At this point, EBI 2.6 is successfully installed and ready for use. To use EBI 2.6, start the server manager. Once the server manager is started, click the EBI Application icon to open EBI 2.6.
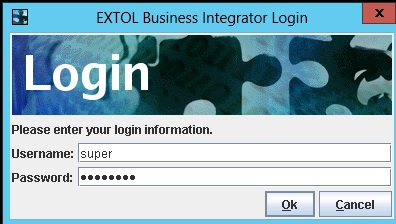
STEP 13:
Login to EBI 2.6 with the proper credentials
By: Sean Hoppe on


